The process of making a Polaroid transfer is relatively simple in theory. Using a Daylab Jr. slide printer loaded with 669 film, you expose the Polaroid film. But this isn't Polaroid film like we're used to in recent decades. This is the original-style Polaroid film with both a positive and a negative, instead of a direct positive that the camera spits out. The principle behind 669 and other positive/negative Polaroid technology is that once the film is exposed, it is pulled through two rollers that look like an old-fashioned wringer on a washing machine.
The pressure from the rollers pops open a little pouch of chemical goo between the positive and the negative and spreads the goo evenly and triggers the development process. As the picture develops, the dyes that are sitting in the negative migrate to the positive. After about 60 seconds, the positive and negative are separated, and you have your print.
In Polaroid Tranfers, that migration process is interrupted. Instead of allowing the dyes to migrate to the positive, you tranfer the negative onto another surface. Hot-pressed water color paper is best, for it has a smooth surface and is highly absorbent. Once the negative is applied to the paper, use a brayer or other lightweight roller to apply pressure to the negative in order to assist the transfer process. During the transfer, the negative must remain warm, but not too warm, maybe about 100 degrees Fahrenheit. You can keep it warm by floating the negative in a warm water bath. After 1-2 minutes, the transfer should be complete.
However, removing the negative is tricky. Peel too fast, you'll get liftoff, which means parts of the negative stick to the negative and not your paper. You can peel underwater for a smoother removal. Finally, soak the semi-dry transfer in a vinegar bath to brighten the colors and fix the dyes. If you do the vinegar step, be sure to change the water several times to full rinse the vinegar from the print.
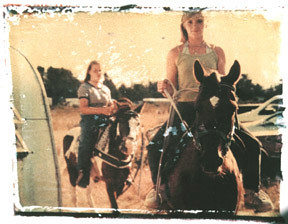
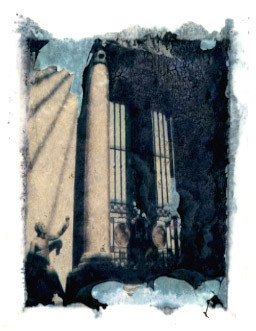
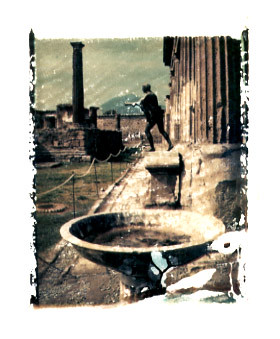
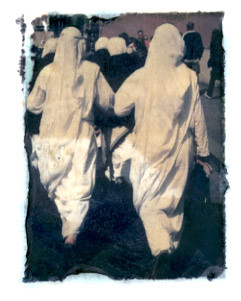
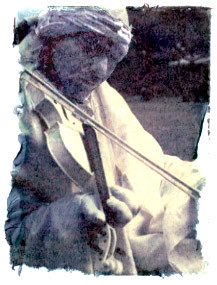
And that, in a nutshell, is how to do a Polaroid Transfer. I'm almost tempted to bust out the equipment and try a few more. Once I find them, I will upload pictures of the lamps I made in Iowa out of Polaroid Transfers. In the meantime, though, these are some scans of a few of the earliest ones I made, back at the Kennebec House in Maine, of pictures I took in Maine and in Italy.


No comments:
Post a Comment